Thursday, March 5, 2015

Week 6. Semester 2. Another extraction.

This week another DNA extraction was performed. This time I used tubes pre-loaded with Phase Lock, a Vaseline like gel that has a density in between the DNA solution and phenol-chloroform, which helps keep the phases separated. I personally do not believe it was as helpful as I had anticipated but I will try using it once more, next time centrifuging the tubes before using them. Shipping may have contributed to the gel getting spread out in the tube and I think that hindered more than helped my extraction. I also found a possible DIY protocol to make a gel similar to Phase Lock, I may try that as well next week.
Instead of extracting DNA from one of the practice samples in the lab, this week I decided to extract DNA from a Palo Verde tree behind the west corner of the library on campus. I believe having the fresh specimen collected and proceeding to extract DNA immediately may contribute to higher amounts of isolated DNA. Please refer to the images below for the results of the extraction.


Both from same specimen and protocol. Difference may be due to difference in
concentrations of DNA solution due to the fact I drop one of my tubes at some point
in the extraction and lost a bit of aqueous solution.


Lines 1 & 2 are from last extraction, from tree on SW corner of library.
Lines 3-5 are from practice specimen labeled IIIC.
Lines 6-8 are from practice specimen IIIA.


Wednesday, February 25, 2015

Week 5. Semester 2. DNA extraction success!!

Last week I was unable to run another practice extraction due to the holiday. This week however, I was able to complete my extraction in one day! If you recall from my first time doing one, it took me a whole week to complete it. Today I electrophoresed a couple of gels, please refer to images below. I have found adding short centrifugations in the protocol after addition of ethanol for precipitation helps to more effectively isolate the DNA. When loading the gels I used orange loading dye instead of the usual green/blue dye and found it to interfere less with the luminescence of cyber green under UV light. Please enjoy the pictures below! I am very excited about my results and although not compared to seeing it live, I hope you share some of the excitement!
For next week, my plan of action will depend on the arrival of cellulase and PCR primer. I am curious to try alternative extractions. But also to move ahead in the project and test the extractions yield and quality for PCRs.


This week's DNA extraction from practice sample IIIC 


Last extraction from practice sample IIIA shown in first upper lines
this week's extraction from IIIC shown in three lower lines


Two gels in UV viewer
As close as you can get to seeing it live


Tuesday, February 17, 2015

Week 4. Semester 2. Some DNA!!

As you may recall from last week, my extraction was finished but I was unable to determine whether I had DNA before submitting my post.

The following was done Friday morning last week:

Upon retrieving the DNA samples suspended in TE buffer from the refrigerator, two agar gels were prepared with 50 mL of 1x TAE buffer and .450 g of agarose. Once cooled to 59◦C, 4µL of Cyber Green were added to the beaker immediately before pouring into gel molds. A cardboard box was used to cover the gels and protect the Cyber Green because it decays when exposed to light and heat.

Once the gels were set, 2µL of Loading Dye were used in each well in the gels and 4µL of DNA sample loaded accordingly. 1x TAE buffer was added to cover the gels. The gels were electrophoresed for only 10 min, due to time constraints, and very little DNA was visible. Then Matt Haberkorn kindly offered to run them again and did so for approximately another 25 min. DNA run further and very faint banding was present.

However little, having some DNA in my first independent extraction feels like a great success!!


The remainder of the week I will be researching for possible ways to add cellulase to my protocol in hopes of increasing the yield of DNA per sample.


 Faint but visible DNA banding from practice extraction

Thursday, February 12, 2015

Week 3. Semester 2. First Plant Extraction. Have something?

This week I was able to perform an extraction using plant tissue Matt had saved for practice runs. During the extraction I encountered quite a few conflicts with the information in the protocol I had and Matt's protocol. Eventually I found out he had most of his adjustments in the protocol described in his research paper. So lesson learned, I double checked in the paper before moving ahead with the next step in my protocol.
This morning I finished the extraction and although it looked as if I had nothing (a DNA pellet was supposed to be present in the alcohol solution). I centrifuged it for 5 min. and voula! There was a visible precipitate. I am not sure it is DNA. I actually think it's not because of it's color. However, I will run an electrophoresis tomorrow to check.
So I know I have something, I'll find out tomorrow whether it is DNA.
I will be discussing my results next week.

Improvised water bath for lysis buffer and set up to grind plant tissue sample


First time working with Phenol and Chloroform


Barely visible precipitate on dried tube (hoping this is DNA)


DNA suspended in 1xTE buffer and stored in the refrigerator to dissolve

Tuesday, February 3, 2015

Week 2. Semester 2. First DNA extraction a Sucess!!

This week I had the opportunity to extract DNA from e. coli under Paul's supervision and guidance. Although his method is pretty much fool proof I was super excited to see the banding on our gels! I honestly though my first time would be a disaster hehe. The protocol followed is summarized below.

1. Centrifuge 1mL of cultured TSB @ 12000 rpm for 3 minutes.
2. Discard supernatant (broth) & add 0.3 mL TBS & 15 µL 10% SDS to each tube.
3. Incubate @ 55ºC for 10 min.
4. Cool to room temp
5. Add 5µL proteinase K  - Vortex 20 sec.
6. Incubate in ice for 5 min.
7. Centrifuge @12000 rmp for 3 min. (to precipitate proteins)
8. Transfer supernatant to clean 1.5 mL tubes.
9. Add 300µL room temp isopropanol.
10. Invert until DNA forms threads.
11. Centrifuge @ 12000 rpm – 2 min.
12. Discard supernatant. Add 300µL room temp 70% ethanol. Invert to wash pellet.
13. Centrifuge @ 12000 rpm – 2 min.
14. Discard supernatant & air dry DNA (we used the hood for 20min.)
15. Resuspend DNA in sterile water (50µL).

While the samples were incubating for step 3 above, we prepared 1xTAE buffer by adding 980 mL of di water to 20 mL of TAE 0.5%.

While DNA was drying under the hood, we prepared the gels for electrophoresis by adding 0.9 g of agarose to 100mL of 1x TAE buffer. We proceeded to microwave this beaker for 30 sec intervals until diluted. Once it cooled down to 59ºC we added 4µL of cyber green.

We then poured 25mL of agarose/TAE buffer solution into the gel molds we had set up previously and covered with box to keep in the dark since cyber green is very light sensitive.

Once the gels were set and the DNA had dried, we completed step 15 of the above protocol and proceeded to load 4µL of DNA sample and 2µL of loading dye in the wells in the gel.

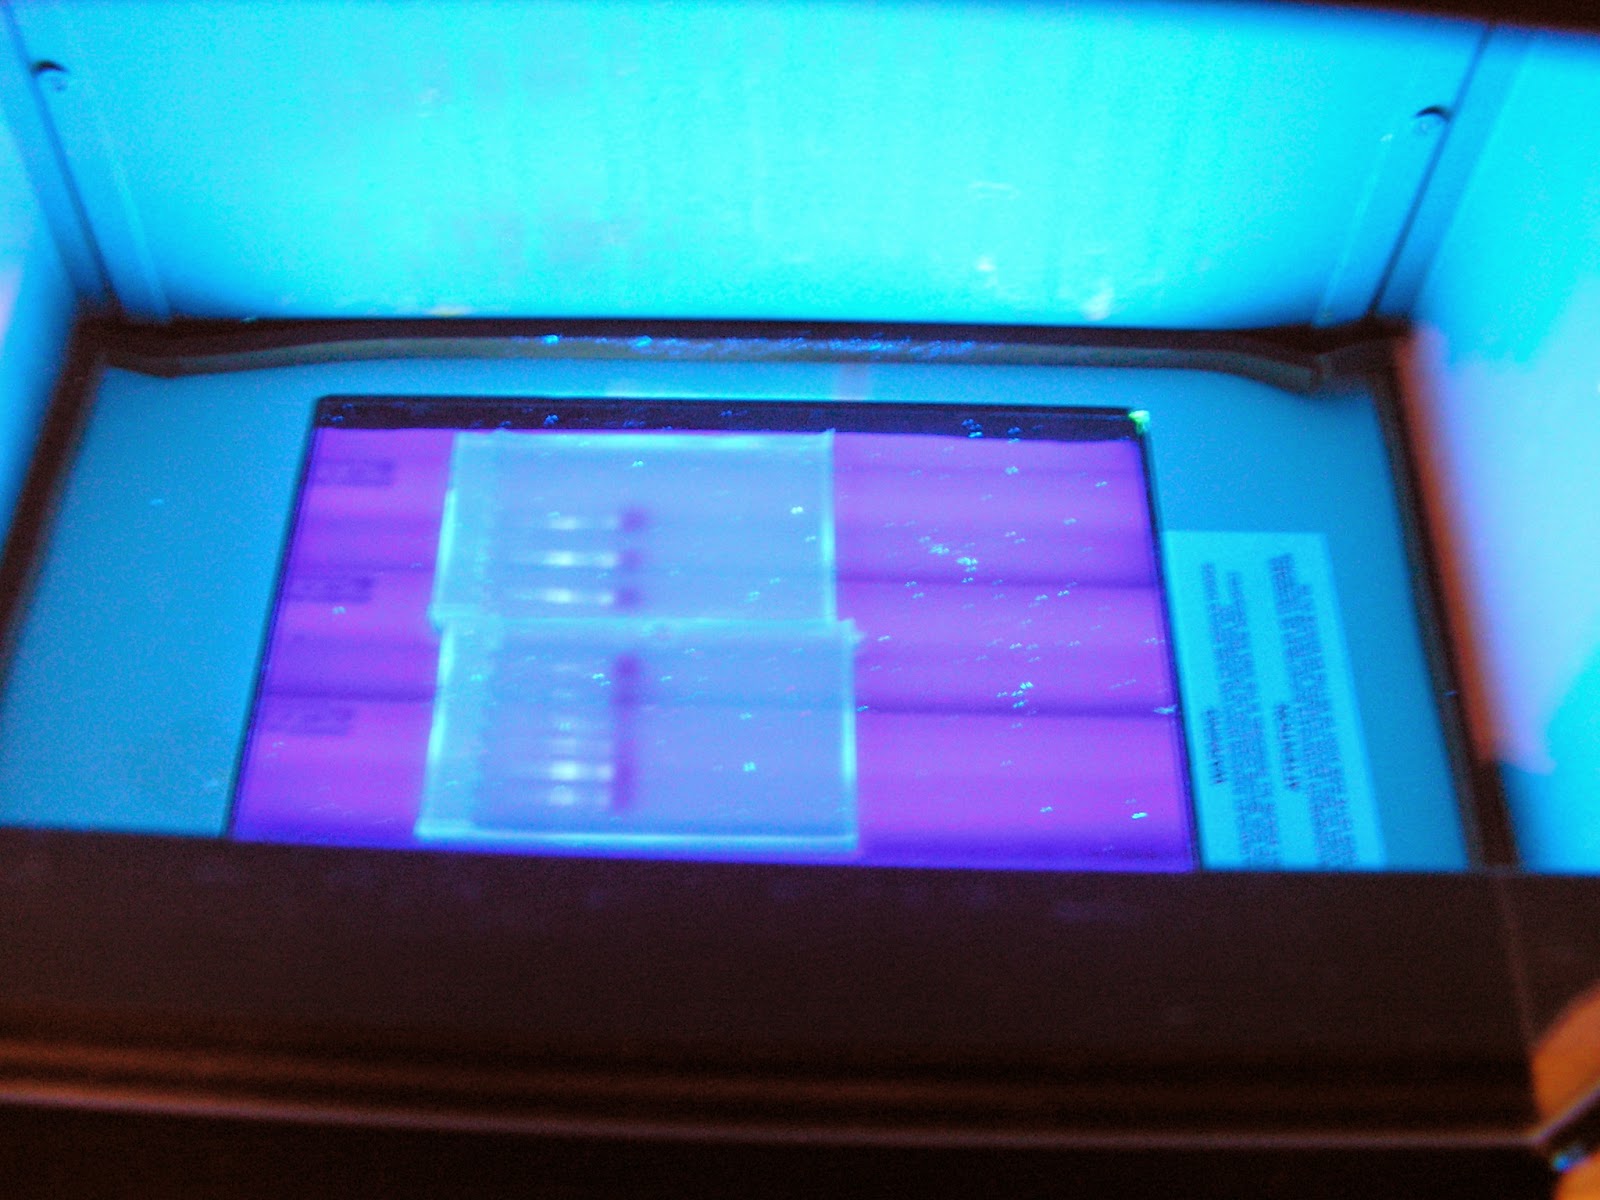
The last step was to run electricity (120V) through the gels for approximately 15 min. And view them under UV light. It was a success!! Please see pictures below.

Thank you very much to Paul Cattelino for your help and all the little tips you shared with me! I love being part of this program and feel honored to being able to work alongside and collaborate with you!!


             Muchas Gracias Paul!                  
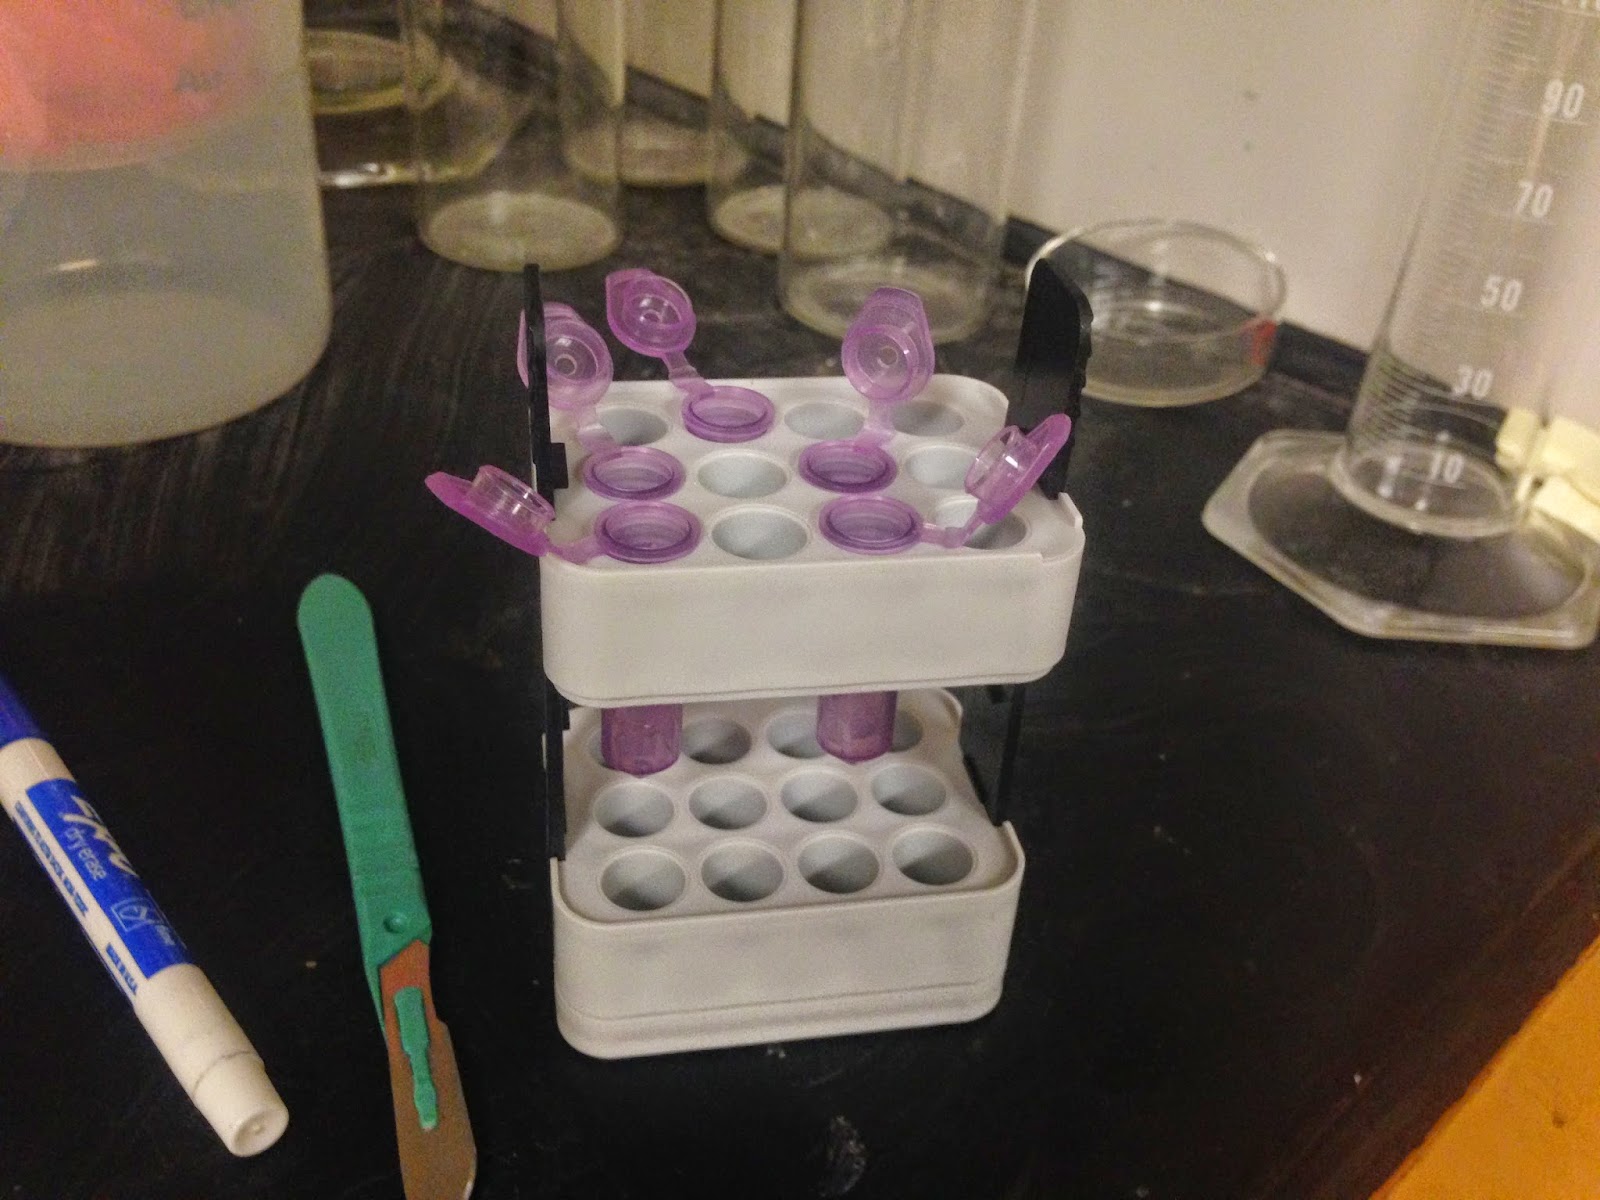
 DNA threads precipitated with isopropanol
Gels undergoing electrophoresis
 Left to right: Sample 1, Sample 2 and control (Paul's older extraction)
Another view with second gel added to the right. From left to right on second gel: 
Sample 1 and Sample 2. Very nice banding!!!

Thursday, January 29, 2015

Week 1. Semester 2. Project chosen... Taking over Hill's

You may take my title as literally taking over the climb of Hills LOL for two reasons, the project I am continuing was initiated by Mat Hill. He worked on it for two semesters and although he made great progress, he kept struggling with shearing of the Palo Verde DNA during extraction. After reading his posts and research paper, I am feeling a little overwhelmed hehe I can't help but wonder what my results are going to be when I am not even closely as literate as him about this subject. However, I shall climb this "hill" even if the odds are against me hehe I will do my best to hopefully provide the data to back up his claim that Palo Verdes clone themselves as a root adaptation to thrive in the harsh conditions of the Sonoran Desert.
The second literal hill I might climb soon is when I go out and collect fresh specimens in the plot he designated for study. That will be fun as well!!
This week I can summarize my work as getting familiar with my project, the background and protocol, as well as equipment and reagents involved for the DNA extraction, Electrophoresis and PCR
To our two new Scholars Bethany and Cel, welcome and may you be very successful and enjoy this enriching experience!!

Hill's research paper


Hill's Blog has been very useful to get to know the project but also the mind behind it

Wednesday, December 3, 2014

Week 14. Red 5 is E.coli


This week I was able to successfully identify my unknown. After incubating the SIM test, all I needed to do was wait. I had also started an Indole test in case I had positive for sulfide on the SIM. Well the SIM test turned out to be negative for acid and positive for motility. Please find a picture below to illustrate. This results indicated I had Escherichia coli. 
After successfully identifying my unknown, it was time to start working on my research paper and presentation for this Thursday and Friday. So far I have finished the abstract and background info parts. Although the dateline seems very close, I am sure we will all be able to finish our work and turn in!